I've made custom napkin rings a million times (OK- a few times).
For Cole's 3rd birthday party (OK-- admittedly the numbers are a little bit ghetto-- it was my first attempt at custom napkin rings and I just drew them on with a stencil)


And for a graduation party for my oldest step-daughter Caily. FYI- the party never actually happened because we couldn't coordinate schedules over the summer :(

This time however, I over thought it and over did it.
At first my napkin rings started out like this.


Cute right?

I tried a couple of different versions too--
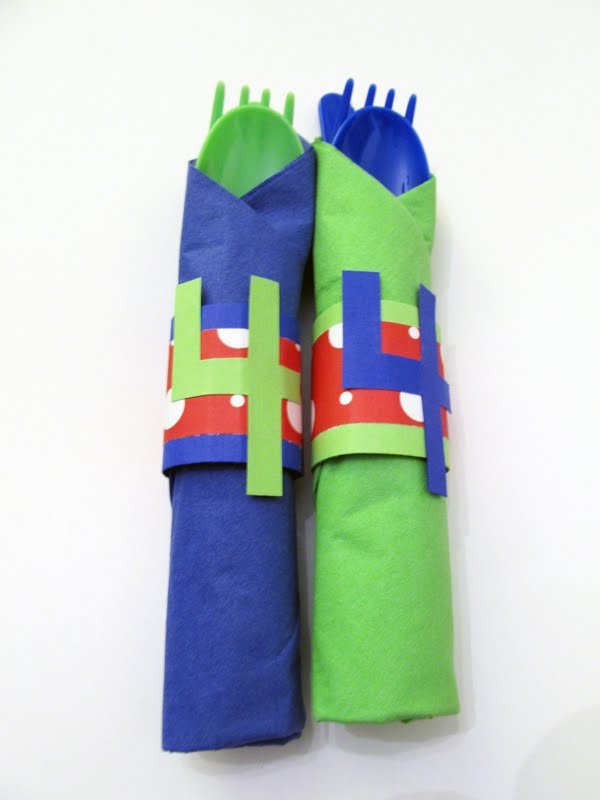
coordinating 4s

and matching 4s

either way it just didn't work.
I just turned the napkin rings around. Makeshift? yes. Did anyone at the party care? not a bit.

Choose your scrapbook paper.

Cut strips 1 1/2" by 4 1/2".


Note-- embellishments can be made from anything-- while the 4s didn't necessarily work, you can see how fancy my "template" was -- a hand drawn 4 cut out of cardstock (which I did at lunchtime at work one day)

 |
| larger 4s were for the party hats-- more on those later |


See-- its practically a 2nd grade art project. Anyone can do it! And it really doesn't take that long to do either. The possibilities are endless... have fun with them!
No comments:
Post a Comment